For this project I wanted to build a MIDI controller to control audio loops and visuals.
Some of the components that were used - 16 3mm LEDs in white and blue, Potentiometers (10k ohm), Male to male jumper cables, Adafruit Trellis board and silicone keypad.
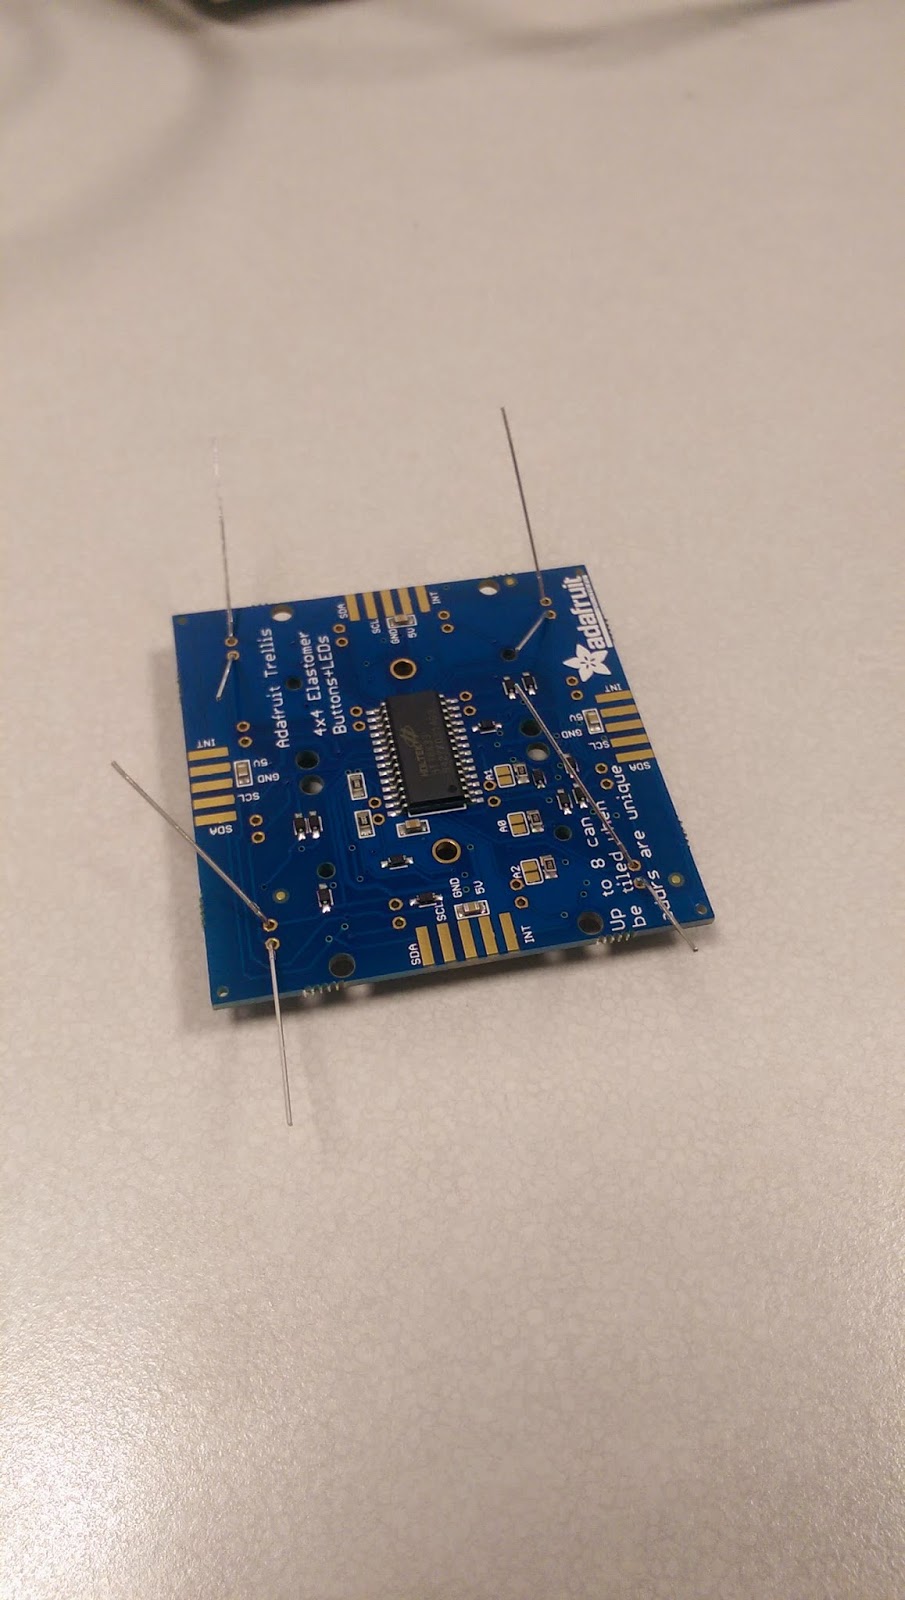
I started by soldering the LEDs to the Trellis board. It was important to ensure the polarity of the LEDs was correct during this step or they would not work.
I soldered 16 LEDs onto an Adafruit Trellis board. With a silicone overlay, and uploaded a script to the Arduino Leonardo, this controls the turning on and off of the LEDs.
After tinning and soldering the contacts on the board (to connect to the Arduino leonardo).
To start with, I used a MakerBot 3D printer to print a box / container for the midi controllers components. This process took a few hours to complete but it was interesting to use the 3D printer.
After clipping down the potentiometers so they would fit in position.
In the correct positions.
Stripping the wire to connect up the potentiometers.
Here is where I started to wire in the potentiometers.
After wiring in the potentiometers, I tried to upload the code to turn the Arduino Leonardo into a MIDI controller - but ran into some issues verifying the code. I solved a few of the problems as the libraries were not installed properly, so moving some folders around fixed this, but was a long process figuring out the issues.
The original idea for this project was to create a midi controller purely for visuals, which could be strapped or attached to an instrument and used by the musician / performer to control visuals while playing / performing.
I had the idea for this project as not many musicians incorporate visuals in their performances - I wanted to make something easy to use and accessible by musicians.
This was partly inspired by a performance I saw last Summer. The band I saw, Nordic Giants, played various instruments which seemed to be connected to, or at least in sync with, a visual film which was placed at the front and centrally on the stage, shown through a projector. This film told a story as the bands set went on, and provided another focal point for the audience - it certainly made the performance more interesting to watch.
When I had finished the hardware aspect of the project, I realised the box was a little bulkier than I imagined. The box itself was really interesting to me as I found the shape and form really appealing. It seemed very cute. The way the LEDs were diffused through the silicon keypad was very endearing - it reminded me of raindrops.
Thinking about the way the box appeared, led me to create an idea around video gaming, as the box reminded me of a GameBoy - another clunky, but endearing piece of technology. This changed my idea in a way, and I decided to make the project a combined piece of technology (both audio and visual) - perhaps to accompany a musician, perhaps to be a solo performance mechanism. I created some musical tracks for twelve buttons, with the remaining four buttons on the pad to be used for visuals. The music I created was based on Chiptune, as I felt this fit well with the GameBoy aesthetic of the project.
The visuals were also inspired by the Chiptune aesthetic - I wanted to create something kitschy and retro looking.
I completed the hardware aspect of the project, but had some issues with the software side of things.
There were a few more errors which I eventually solved but I got stuck on one final error which I haven't been able to solve as of yet.
If I had had a bit more time, I would have liked to get everything working properly, and create a narrative through sound and visuals - so I could tell a story through music and images, much like the band mentioned above have done.